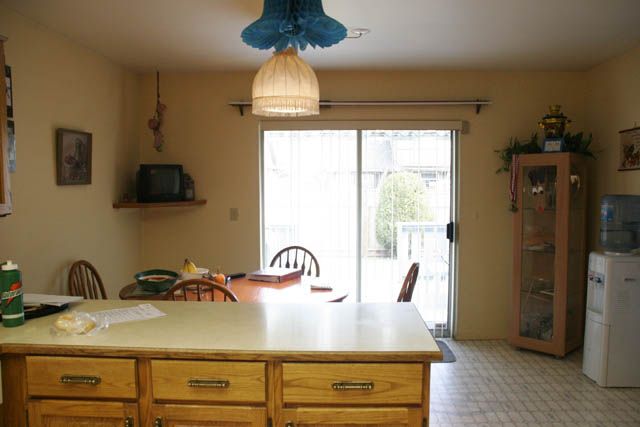
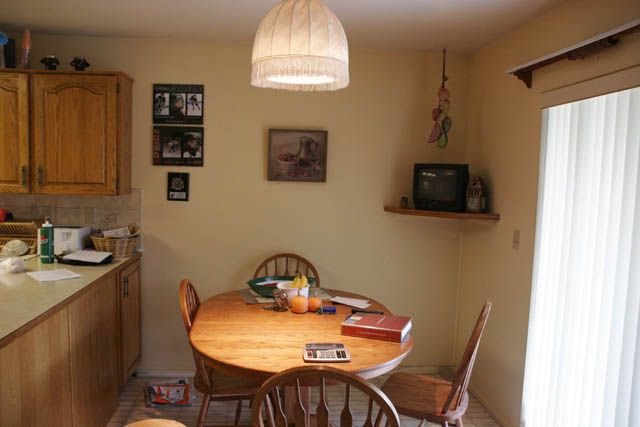
Before I show you the space all new and improved, I have to show you the befores {it wouldn't be any fun without them, would it?}. Please keep in mind, the photos were taken when the former owner of the home was living here! {We snapped pics on our home-inspection rounds}. Cue the dramatic music ... duh duh duh DUH!
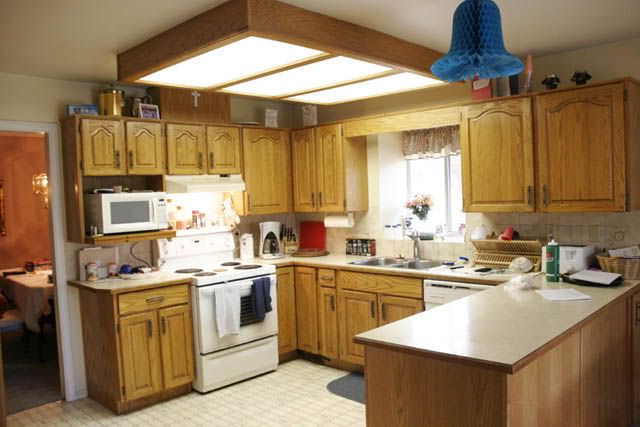
So we were in a limbo phase for quite some time:
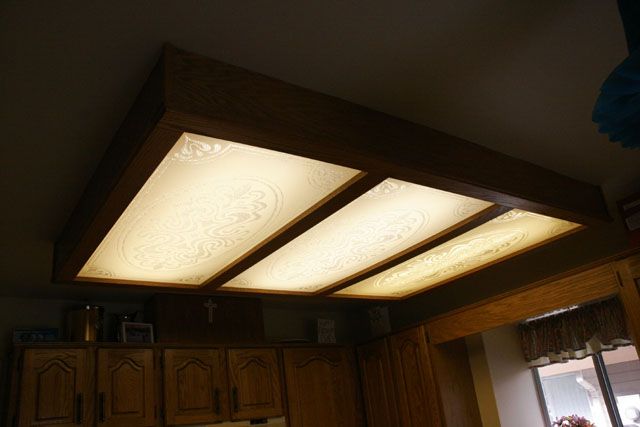
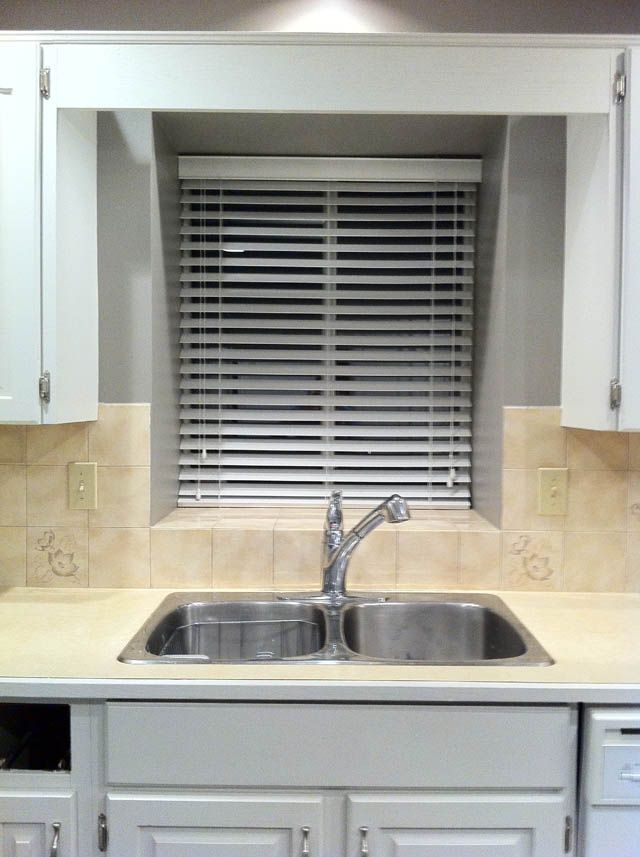
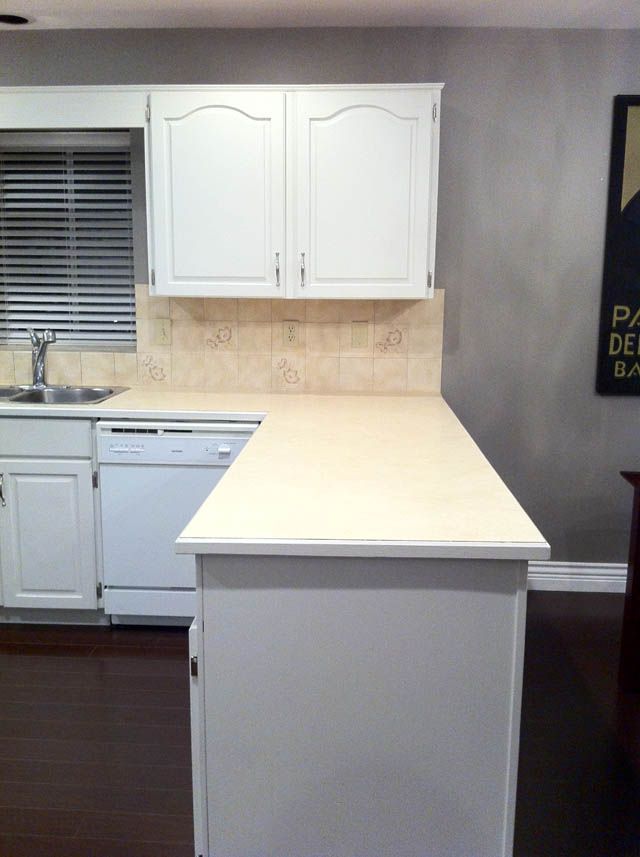
But I still saw this in my face every day:
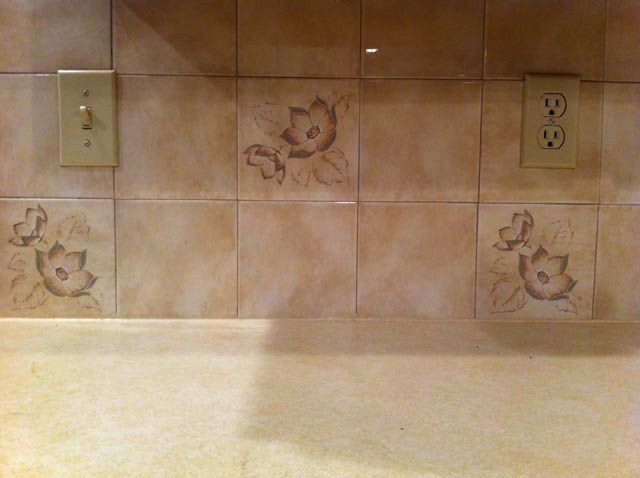
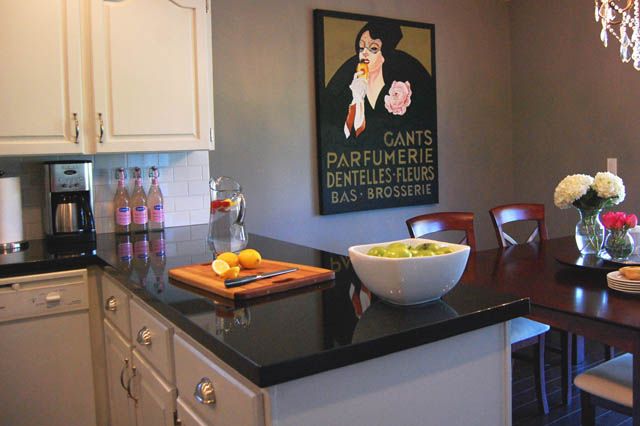
Not pretty. We knew we had to be patient and save up for new granite counter tops {our only real splurge} so we didn't want to put up a new backsplash until then. We took Tommy Smythe's advice {ate noodles for dinner for a month} and were able to get those shiny new counters :) We did the tiling ourselves after installation and chose an inexpensive subway tile:
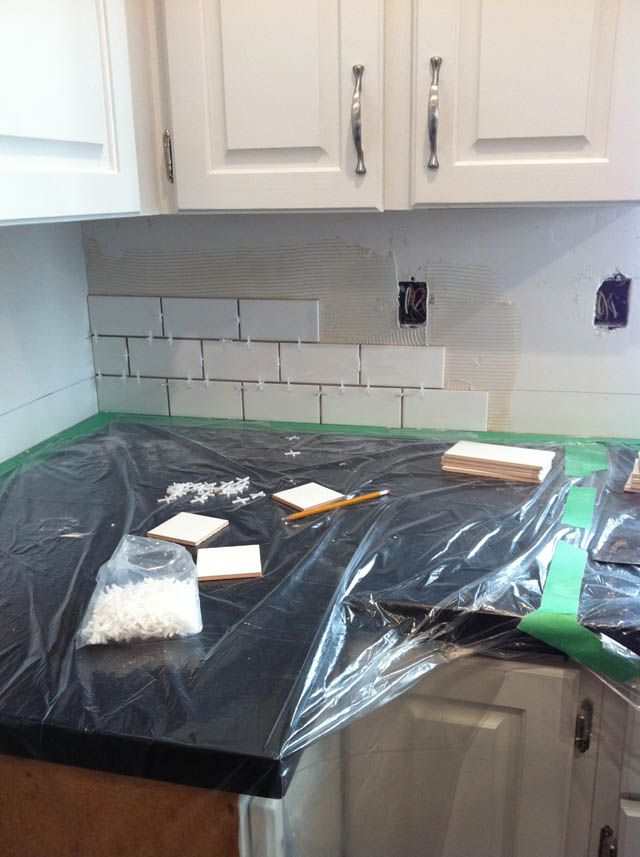
My first time tiling and it was a blast!! I love those little spacers :) So, again the BEFORE:
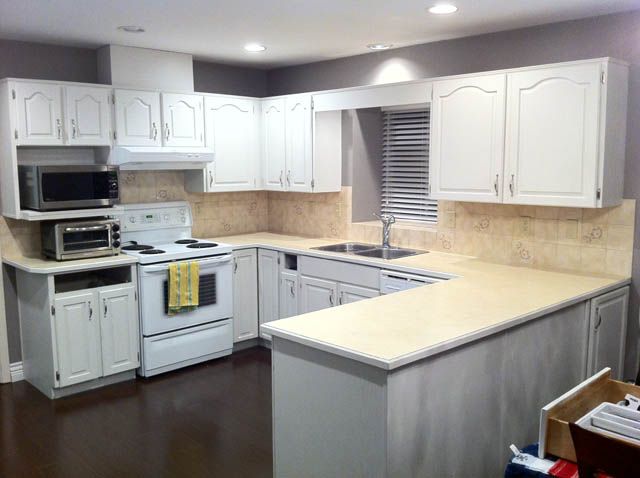
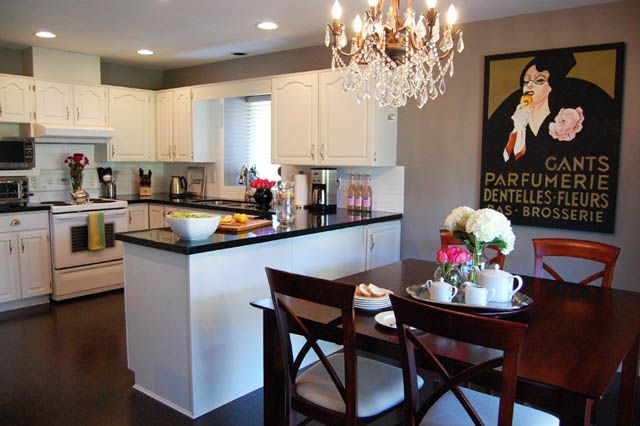
And AFTER:
The eating area:
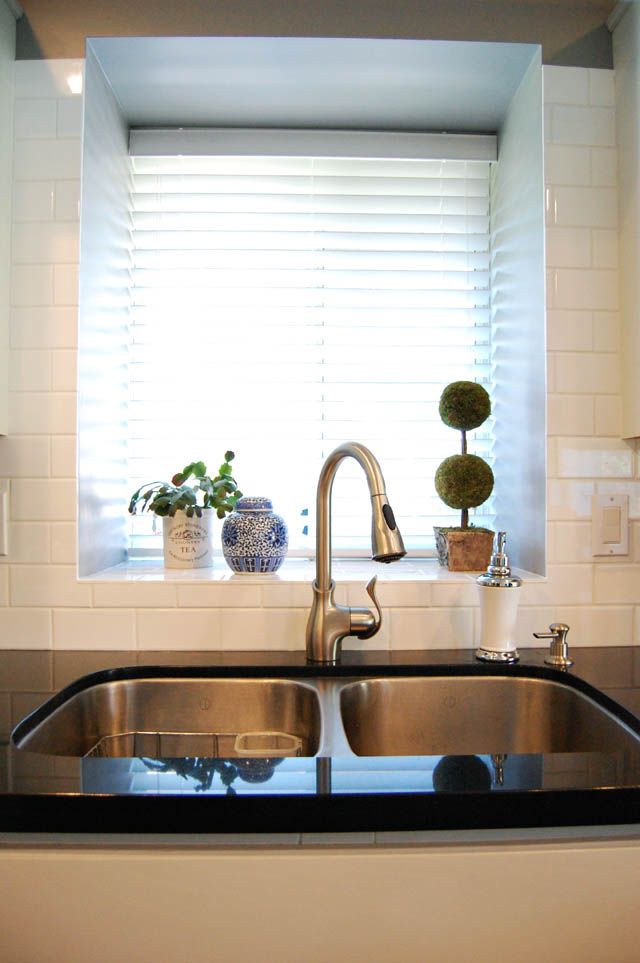
And now:
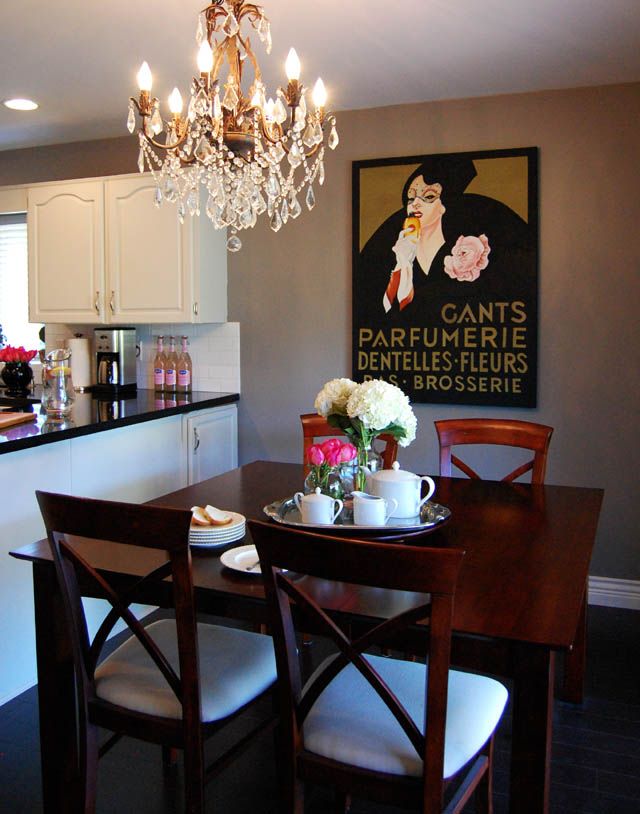
I love my new goose neck faucet and soap pump! It's the little things :)

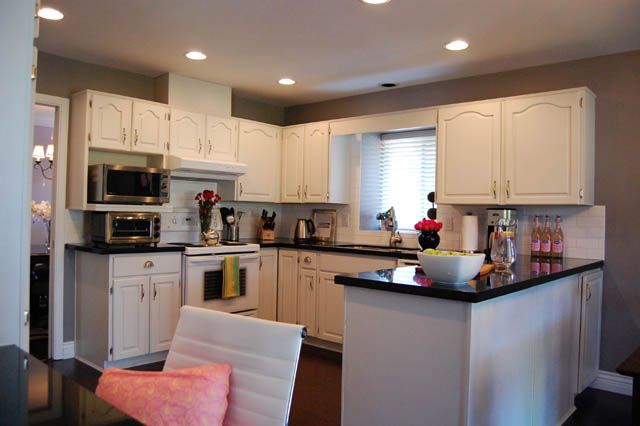
In order to stay on a tight budget, it really had to be a labour of love, but I think it was worth it! We did all the cabinet painting ourselves, laid the backsplash tiles, and kept all the appliances that came with the home. The hardware was all from Lee Valley Tools, the faucet and chandelier from Home Depot, and the only 'big ticket items' were the pot lights and stone counters {though opting for granite was substantially lower than marble}. The artwork is my own painting - my twist on an old vintage poster. And all in all I think we got the best bang for our buck!